Check 'er Oil
Weather it's once a year, every couple months, or a few squirts daily, keeping your crank well lubed and clean is the key to longevity...not bad for your scoot either!
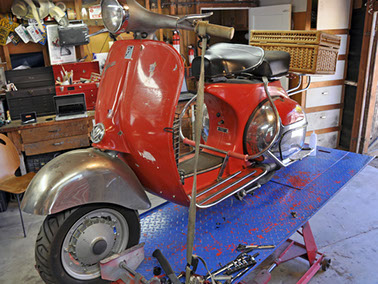
Following are simple steps in changing your own crank case oil in large-frame Vespa scooters. These steps were taken from a article written by Brett Hartt, and submitted to iFixit.com. Brett is servicing a 1997 T5 motor installed in a 1959 Vespa 150, but the procedure and locations of all parts are the same for all Vespa Large Frame scooters (Vespa 125 VNA/VNB, 150 VBA/VBB, 125/150 Super, Sprint, GS160, SS180, Rally 180/200, all PX models, Indian manufactured Bajaj and LML 2-stroke models, and more.)

THINK OF YOUR MOTHER
Do not throw your used oil in the trash or down the drain. According to the EPA, used oil from one oil change has the
power to contaminate a million gallons of water. Oil is toxic and is slow to degrade to the environment.
Motor oil can be refined, reconditioned or reprocessed to become usable again. Most auto shops and hazardous
waste (HHW) facilities will take your oil free of charge. Visit Earth101.com to find a location near you.

Always make sure your work area is clean and you have plenty of room to work safely. Never start or run your scooter indoors.


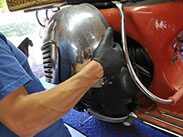
Carefully lift the engine cover up and away from the scooter, mindful of the mounting bracket near the rear of the engine.
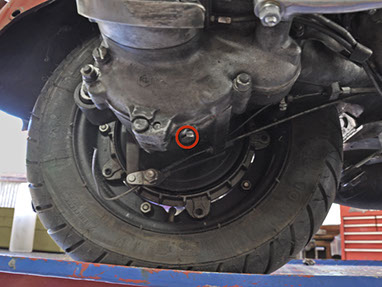


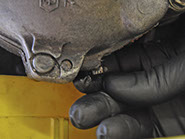

It is important to not over-tighten the oil drain plug, as the steel drain plug will easily strip the aluminum threads in the engine case.

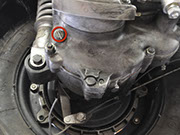
Use a large flathead screwdriver to remove the oil fill plug.
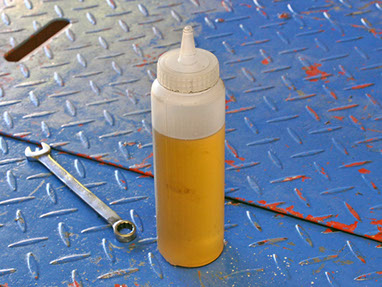
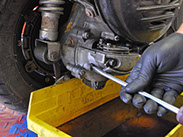
Refilling the oil in the large-frame Vespa requires a narrow nozzle that will allow pouring oil horizontally. A condiment bottle works very well.
Put the nozzle of the oil bottle into the oil fill hole and pour or squirt oil into the engine until it is filled level with the fill hole.
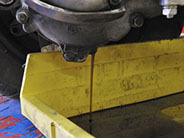
It is important that the bike remains level while filling, if it is tilted one way or the other, you will over or under fill the engine. Oil will drip down the side of the engine. This is fine, just wipe it up when you are done.
Using your hands, insert and hand-tighten the oil fill plug.
Using a large flathead screwdriver, tighten the oil fill plug.
There is no necessary torque specification for the oil fill plug. However, make sure that it is tight enough that it doesn't rattle out. It also should not be so tight that the threads strip.


Stu-Gotts.com is a merchandising portal from Stu-Gotts, a vintage scooter club, with members all over the state of Florida. The goal is to have clubs around the world, accept the philosiphy of Stu-Gotts, and embras it as an montra or expression of what it is to be a vintage scooterist. Original Art and Graphics created by Michael Montini of Creightive, ©2015 Copyright, All Rights Reserved.
© Copyright, 2015, Creightive. All Rights Reserved.